
If you are using Microsoft 365, you might like to use a signature management application that appends to emails after you send them from any device. The email signature management application creates brand consistency and is a great marketing tool.
Step 1.
Choose “New Email”, as if you were composing a new email.
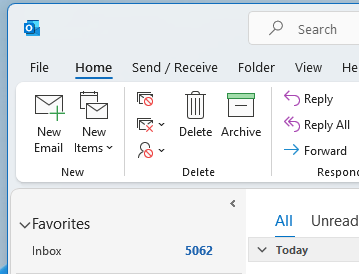
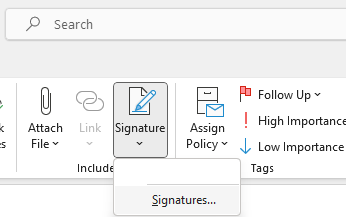
Steps 2 and 3.
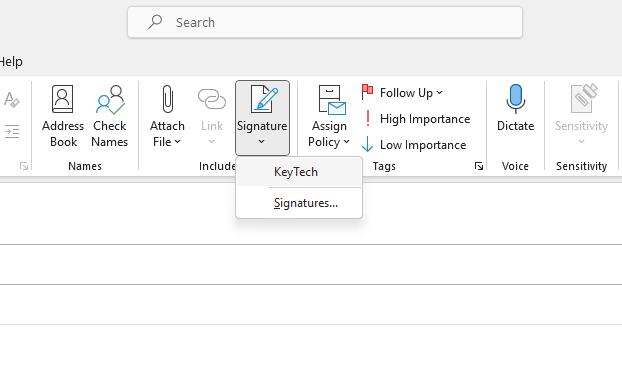
Click “Signature” then click “Signatures…”
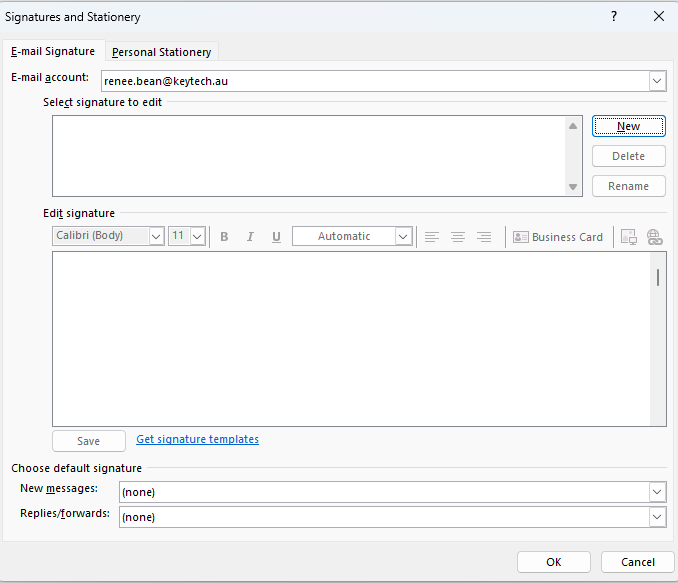
Steps 4
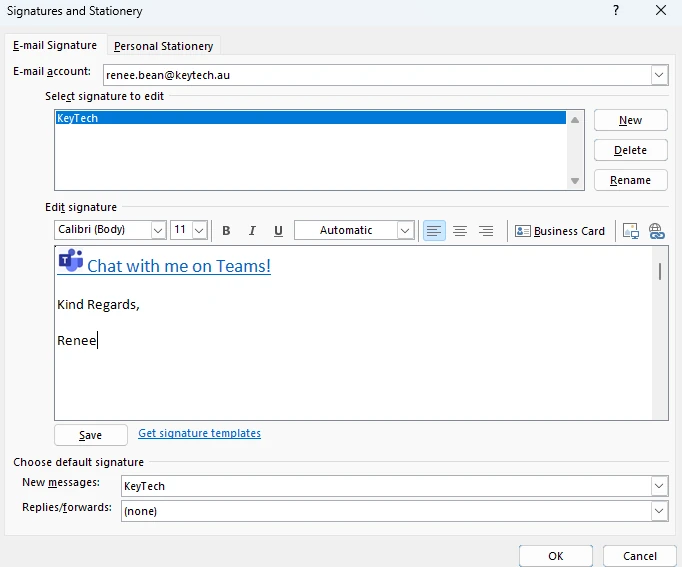
The Signatures and Stationery window will appear. Click the button that says “New” to create a new signature.
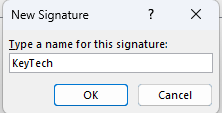
Step 5
Type a name for your signature when prompted, then click “OK”.
Step 6.
In the larger “Edit signature” field, design your signature. It is here that you can format your signature’s text and add links and images.
To add an image click the insert image icon ![]()
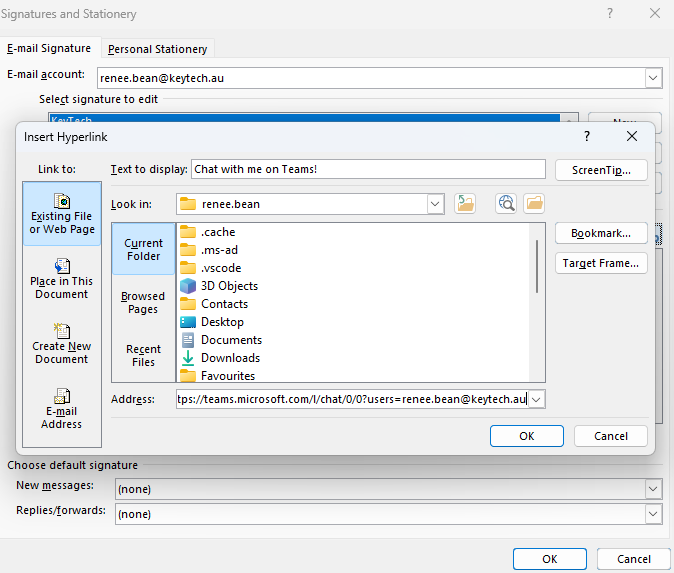
To add a link (or Teams chat link) to your signature, select the image or text you want to apply the link to. Next click the link icon: ![]()
Steps 7 and 8.
Paste your link in the “Address:” field and press “OK” to continue.
Step 9.
The link has been applied, to save your signature, click “OK”.
Step 10.
Now you can use your signature by clicking on “Signature” again. This time you will see your signature in the dropdown box. Click on the new signature to use it.
Compose your email and send it as you usually would.
Step 11.
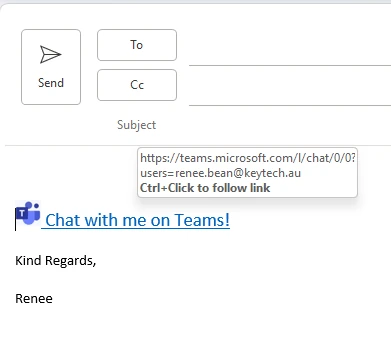
Once you have clicked on the signature that you created, it will appear at the bottom of your email. Test that your link goes to the correct page/application.
Compose or make any edits to your email and send it as you normally would.
Need additional instructions?
Please let us know if you have any difficulties. We are happy to assist you. We welcome your feedback so we can further improve our processes. Our aim is to make your life easier so you can get your time back.